
 how-to
How to Maintain Motorcycle Battery: 7-Step Guide
Table of Contents
- Step 1: Know Your Battery Type Before You Touch It
- Step 2: Check Motorcycle Battery Voltage and State of Charge
- Step 3: How to Clean Motorcycle Battery Terminals and Case
- Step 4: Motorcycle Battery Charging Done Right
- Step 5: Safe Removal and Reconnection
- Step 6: Motorcycle Battery Winter Storage and Long-Term Parking
- Step 7: Diagnose Parasitic Drain and Charging System Problems
- Your Motorcycle Battery Maintenance Schedule
- Frequently Asked Questions
Last Updated: October 21, 2026
Step 1: Know Your Battery Type Before You Touch It
The first rule of battery care: identify what you have before you touch it. A motorcycle battery is a rechargeable power source that starts the engine and runs accessories when the bike is off. This guide from Moto Recovery covers the whole routine, from voltage checks to winter parking.
Here's the split that matters:
- Flooded (wet) lead-acid: Old-school cells with liquid electrolyte. You can top these up with distilled water.
- AGM (absorbed glass mat): Sealed lead-acid. No water top-ups, ever. Most modern bikes run these.
- Lithium (LiFePO4): Light, expensive, and picky about chargers. Cold weather slows them down.
Get this wrong and you'll damage a perfectly good battery, adding water to a sealed AGM case is a classic mistake that kills it fast.
Flooded, AGM, and Lithium: What Changes in Maintenance
Flooded batteries need electrolyte level checks every few months, keeping plates covered with distilled water, never tap water. AGM batteries need only a clean case and correct charging. Lithium packs want a lithium-compatible charger and hate deep discharge. Match maintenance to chemistry and the rest gets easier.
Step 2: Check Motorcycle Battery Voltage and State of Charge
Voltage tells you almost everything about battery health. Set a multimeter to DC volts and touch the probes to the terminals with the bike off. That resting voltage is the fastest health check you can run.
What the numbers mean on a 12-volt battery:
Resting Voltage | State of Charge | What to Do |
|---|---|---|
12.6V or higher | Full | Nothing, you're good |
12.4V | About 75% | Charge it soon |
12.2V | About 50% | Charge before riding |
Below 12.0V | Low | Charge now, check for a drain |
Test at least two hours after the last charge or ride. Fresh off the charger, readings run high and mislead you.
Resting Voltage and Load Test Thresholds
A load test shows how the battery behaves under starting demand, and most auto parts stores run one free. A battery that drops hard under load, even at 12.6V resting, is on its way out. Slow cranking is often the first sign of a weak cell.
Step 3: How to Clean Motorcycle Battery Terminals and Case
Dirty terminals cause weak starts and false voltage readings. Cleaning takes ten minutes and costs almost nothing: a small wire brush, baking soda, water, and a rag.
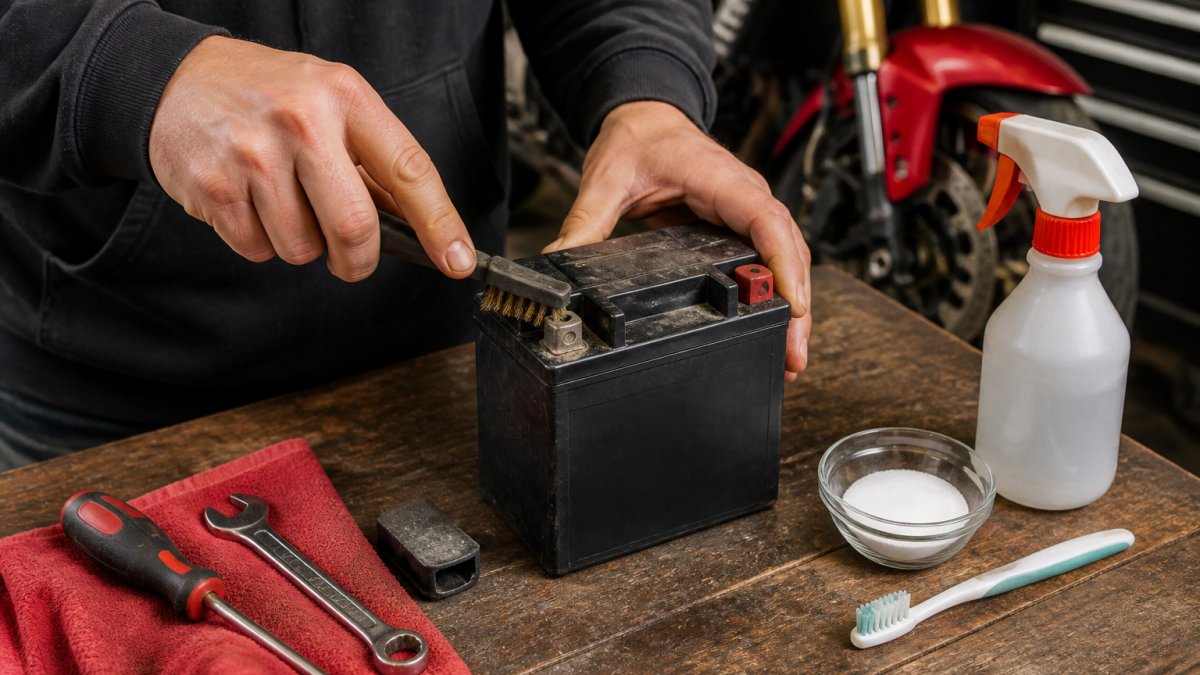
Use a wire brush to remove corrosion from a motorcycle battery terminals.
Follow these steps to clean motorcycle battery terminals properly:
- Turn the bike off and disconnect the negative cable first.
- Mix baking soda with water into a paste.
- Scrub the terminals and cable ends with the paste and brush.
- Wipe everything clean and dry.
- Reconnect the positive cable, then the negative.
Terminal corrosion shows up as white or blue-green crust, blocking current and making the charging system work harder. Clean it off, then coat the terminals with a thin layer of dielectric grease.
Step 4: Motorcycle Battery Charging Done Right
Use a battery charger or battery maintainer built for your battery type. A trickle charger delivers a slow, steady charge safe for long sits. A maintainer goes further: it charges, then tapers to a low float voltage and holds the battery at full indefinitely, while a plain trickle charger keeps pushing a fixed low current and can overcharge a battery left connected for weeks.
Choosing a Charger That Matches Your Battery
Charger output is rated in amps, sized to battery capacity in amp-hours (Ah). A typical motorcycle battery is 8-20 Ah. A charger rated at roughly 10% of the Ah rating is a safe bulk-charge rate, about 1-2 amps for most bike batteries.
Match the charger to the chemistry, not just the voltage:
- Flooded lead-acid: A standard lead-acid charger with a float mode works. Check electrolyte level before and after charging, and top up with distilled water only after the charge, since electrolyte expands.
- AGM: Use an AGM-compatible setting. Many smart chargers have a dedicated AGM mode with a slightly higher absorption voltage. Avoid chargers that only offer a fixed trickle output.
- Lithium (LiFePO4): Use a charger explicitly labeled for lithium. Lithium packs need a different charge profile and often a balance stage. A lead-acid charger can overcharge a lithium pack, and a lithium charger should not be used on lead-acid.
Look for automatic chemistry or voltage selection, a float or maintenance stage, reverse-polarity protection, and a clear status indicator. A charger with only a red light and no voltage readout gives you nothing to troubleshoot with.
Reading Charging Behavior
A healthy charge follows a predictable pattern: bulk stage pushes current, voltage climbs toward the absorption setpoint (roughly 14.4-14.8V for lead-acid at room temperature, lower in hot weather), current tapers as the battery fills, then a smart charger drops to float, typically around 13.2-13.6V for lead-acid.
Watch for these signals:
- Voltage climbs normally, then holds: The battery is accepting charge. Normal.
- Charger never leaves bulk stage: The battery may be deeply discharged, sulfated, or internally shorted.
- Charger shuts off almost immediately: The battery may already be full, or the charger may be detecting a fault.
When a Battery Won't Hold a Charge
If the battery reads low after a full charge and drops again within days, work through this sequence before replacing it:
- Confirm the charger works by testing it on a known-good battery or checking its output with a multimeter.
- Check for a parasitic drain (see Step 7). A battery that keeps going flat may be fine and simply being drained.
- Look for a sulfated battery. A battery left flat for weeks or months can sulfate, and a standard charger may refuse to charge it. Some smart chargers have a repair or desulfation mode; results are inconsistent, and a badly sulfated battery usually needs replacement.
- Check the charging system with the engine running. If voltage at the battery does not rise above resting voltage, the problem is the bike, not the battery.
- Load test the battery. A battery that charges to full but fails under load has a weak cell and should be replaced.
Charging basics that keep batteries alive:
- Charge in a ventilated space, away from sparks and open flames. Lead-acid charging can release hydrogen gas.
- Match the charger to the chemistry. AGM and lithium need their own settings.
- Never charge a frozen battery. Let it thaw fully first, and inspect the case for cracks.
If your charger won't climb past a low reading, the battery may be deeply discharged or dead. Check the charger's manual for its supported chemistries before you plug in. The NFPA electrical safety guidance is a good reference for safe charging setups.
Step 5: Safe Removal and Reconnection
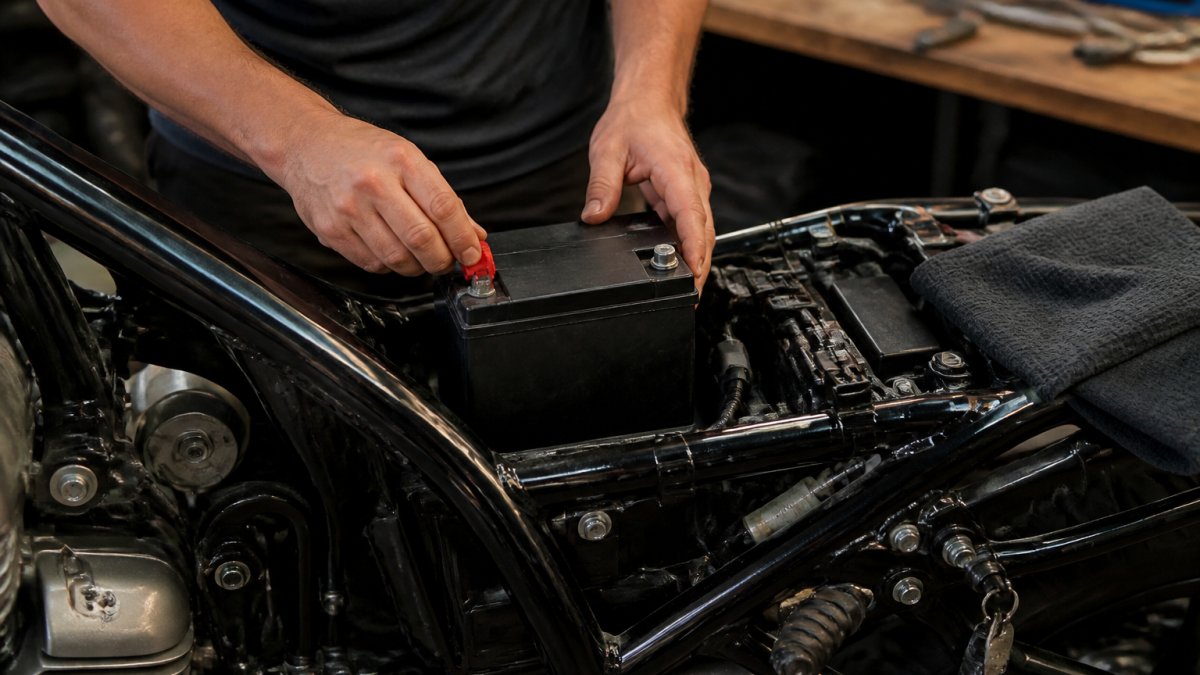
Removal order matters for safety. Disconnect the negative cable first, then the positive, so a wrench can't bridge the terminals and spark. Reconnect in reverse: positive first, then negative. Tuck cables away from moving parts and tighten terminals snug, not gorilla-tight, loose connections cause voltage drop and hard starts. Here's the full procedure, including the tool precautions most guides skip.
Before You Start
- Turn the key off and remove it. On some bikes the battery circuit stays live with the key off, so check for any accessory that draws power.
- Wear eye protection and nitrile gloves. A lead-acid battery contains sulfuric acid, and a dropped wrench or cracked case can splash electrolyte.
- Work in a ventilated space away from sparks, open flames, and anything that can fall across the terminals.
Disconnecting the Battery
- Disconnect the negative cable first. Loosen the negative terminal bolt and move the cable end away. This is the most important step: with the negative cable off, a wrench touching the positive terminal and any metal part of the bike has no return path, so it cannot spark.
- Disconnect the positive cable. Loosen the positive terminal bolt and move the cable aside.
- Remove the hold-down bracket or strap. A loose battery can bounce and crack its case.
- Lift the battery out by the case, not the terminals. Keep it upright. On a flooded battery, check that the vent cap or vent tube is intact and not leaking.
- Set it on a stable, non-conductive surface, a rubber mat or wooden bench, not concrete in freezing conditions, and not where it can tip.
Reconnecting the Battery
- Set the battery in the tray and reinstall the hold-down bracket or strap. It should not move.
- Connect the positive cable first. Hand-tighten the terminal bolt, then snug it with the tool. Don't overtighten, you can strip the terminal or crack the case.
- Connect the negative cable last. Same tightening rule.
- Coat the terminals with a thin layer of dielectric grease or terminal protector to slow corrosion.
- Check that both cables are routed away from moving parts, exhaust, and sharp edges, and that the terminals cannot contact the seat or frame.
- Test before you ride. Turn the key on, check the lights and dash, then start the bike. If it cranks slowly, recheck terminal tightness before assuming the battery is bad.
Handling and Storing a Removed Battery
Keep the battery upright and away from metal objects that could bridge the terminals. For storage, put it in a cool, dry place above freezing and keep it on a maintainer or check voltage monthly. Don't stack anything on top of it or store it near a fuel can, paint, or anything flammable. With the battery out, also inspect the tray for corrosion, check cables for frayed ends, and clean the terminals before reinstallation.
Step 6: Motorcycle Battery Winter Storage and Long-Term Parking
Batteries self-discharge while sitting, and cold speeds the damage. For motorcycle battery winter storage, pull the battery or leave it on a maintainer. Store it in a cool, dry spot above freezing. Check voltage monthly. A battery left flat for months often won't recover.
Step 7: Diagnose Parasitic Drain and Charging System Problems
If your battery keeps dying, the battery may not be the culprit. A parasitic drain is a small current draw that runs even with the key off.
Charging system trouble shows up differently. Check voltage at the battery with the engine running. It should climb above resting voltage. A Motorcycle Safety Foundation course can help you build confidence with these checks.
Your Motorcycle Battery Maintenance Schedule
Match your routine to how you ride. Here's a recommended plan:
Riding Pattern | Check Voltage | Clean Terminals | Full Charge |
|---|---|---|---|
Daily rider | Monthly | Every 3 months | As needed |
Weekend rider | Every 2 weeks | Every 3 months | Monthly top-up |
Stored bike | Monthly | Before storage | Maintainer on |
Bring your bike to a Wrench Wednesday session and we'll walk you through a voltage check and terminal cleaning together. No experience needed.
Frequently Asked Questions
How long can a motorcycle battery sit unused before it needs attention?
A lead-acid motorcycle battery starts losing charge within weeks of sitting idle. Flooded and AGM batteries self-discharge at roughly 3-5% per month in cool conditions, faster in heat. After about four to six weeks of inactivity, voltage can drop enough to make starting hard. Check voltage every two to three weeks during storage and top up with a maintainer before it falls below 12.4 volts. Lithium batteries hold charge longer but still benefit from a periodic check.
What voltage should a motorcycle battery read when fully charged?
A healthy, fully charged 12-volt motorcycle battery should read about 12.6 to 12.8 volts at rest, measured with a multimeter after the bike has sat for at least an hour. While the engine runs, charging voltage should climb to roughly 13.5-14.5 volts. If resting voltage sits at 12.4 volts or lower, the battery is partially discharged. Below 12.0 volts, it is deeply discharged and may need replacement if it will not recover after charging.
Should you disconnect a motorcycle battery during winter storage?
Disconnecting the negative terminal prevents parasitic drain from clocks, alarms, and accessories during long storage. If you use a smart maintainer, you can leave the battery connected and simply plug the charger in. If you remove the battery, store it indoors in a cool, dry spot and connect it to a maintainer every few weeks. Never store a lead-acid battery on a concrete floor if there is any chance of freezing, and keep it out of reach of children and pets.
What can ruin a motorcycle battery quickly?
Deep discharge is the fastest killer, often caused by leaving the bike parked for months without a maintainer or by a parasitic drain you never traced. Heat speeds up internal corrosion, so a battery mounted near a hot engine or stored in a sunbaked shed ages faster. Loose or corroded terminals force the charging system to work harder. Overcharging from a faulty regulator-rectifier boils electrolyte in flooded batteries and shortens AGM life. Regular voltage checks catch most of these before they leave you stranded.
Battery care rewards consistency, and a dead battery always picks the worst moment to quit. If you're not sure where to start, Moto Recovery can help. Our Wrench Wednesday workshops teach light maintenance in a relaxed garage setting, and our rider-to-rider community is built for people who'd rather learn than guess. Visit us to get involved, or support the mission with a donation and keep more riders on the road.